Ceramic tile is a combination of clays and other all-natural materials. The distinctive clays are mined from the ground, shaped, colored as well as fired in kilns. Customary ceramic tiles may be colored and rendered unglazed like terra cotta. Let’s see how to transfer images on ceramic tiles?
Otherwise, they can feature colored or exceptionally designed surfaces that could be glazed (completed with a glass coating ) either at a high gloss or matte finish. Maximum ceramic tile comprises a white or reddish body coloration beneath the glistening, colored top coating.
How to transfer images on ceramic tiles
How to use transfer paper?
The image chosen is placed on transfer paper, a black opaque backing that can be peeled away anytime. The image is to be placed can be resized if necessary. We don’t have to print images in mirror form or reverse form. Colored, black or white Images are work well using this technique. The image is carefully placed, and it should keep in mind that the quality of the paper should be highly valued. Read more, how to make ceramic tile without a kiln?
How to dry the paper?
For ideal results, the ink used must be completely dry. The printed image is allowed to stand to dry. Otherwise, when soaked in water, the ink forms a steak. It is dried for at least 60 minutes. The good idea is to wait for 40 minutes above while the ink is completely dried, but at least 60 minutes are given at least. Drying the ink will increase the duration of the image sticking so it can endure minor harshness and weather conditions like humidity. Check here, how to paint ceramic figurines?
What is use of Acrylic Spray?
The image is processed through 2-3 even coats of acrylic spray. Not all the brand use this spray. Quickly apply the spray and gave it a standby time of 15-20 minutes.
Place transfer paper on a scrap of the sheet to protect the surface from overspray. The acrylic helps make strong and protect images once it is imparted. You can get acrylic spray at any shop or any craft store. More easily, you can get from a chemistry lab or asked a lab assistant. Related article, how to make ceramic tile shine?
How to Cut the Image?
The image is cut closely around the desired perimeters very carefully. Sharp crafting is used to do so, aim to leave no more than a 0.125in boundary around the entire perimeter of the image.
Straight images are easy to cut than that straight ones. Irregular images are hard to cut precisely. So instead of using properly cropped images, you can use them around the image as well. You may like, how to install a shower curtain on ceramic tile?
How to soak in water?
The image we recently cut is soaked in a bowl of warm water for about 2 minutes. It is remembered to use warm water, not hot water. The time for soaking depends upon the kind of band paper you are using. To specify the lukewarm, you may use cold water instead of warm. Don’t keep the image for a long time in warm water. Just follow the told prescription. Our relevant article, how to fix ceramic tile popping up?
How to peel the paper?
Thumb is used to separate the backing from the transparent film at the corner or edge of the image. If the paper has been soaked for the recommended period, then will be no difficulty in peeling the image. It can be done with perfect ease. If there is a problem is separating the film, you can soak it again for one or two minutes. Peeling should be done very carefully as a slight mistake can distort the whole image. The corners are to be crafted very carefully. Do yourself article, how to repair hairline crack in ceramic tile?
How to paste the image?
Image is pasted on a ceramic surface without forming any wrinkles and bubbles. It should be kept in mind that the pasting of the image is smooth. It can be slid slightly around the cutouts while wet to fine-tune the ceramic surface’s positioning. The smoother the ceramic surface is, the better image is transferred. Fine pasting of the image requires professional skills, imparting a great look. May you like, how to repair ceramic tile?
How to dry ?
The image is allowed to dry on the ceramic surface completely. The expected time for drying is almost 30-60 minutes, but it may be longer depending upon ceramic surfaces.
After this step, you have durable and great-looking stuff. Don’t ever use an incomplete dry image. The moisture left in the image will later disturb the image, and it gives a dull look on the ceramic surface. Most relevant content, how to lay ceramic tile over the concrete floor?
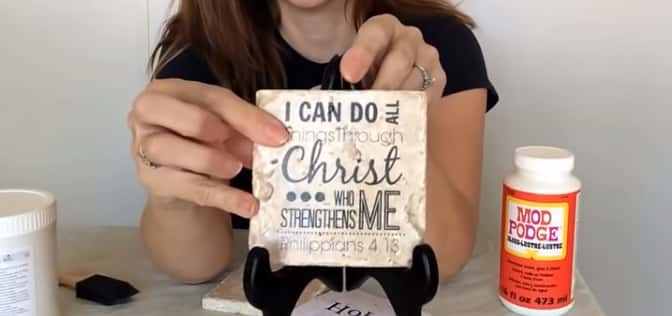
PROCEDURE # 02
Working with Mod Page
What is used to CLEAN CERAMIC SURFACE?
The debris and dirt are removed employing alcohol and warm water. Again, the wet surface is air-dried and wiped with a cloth soaked in alcohol. Rubbing with alcohol removes any oil from the ceramic surface, yet it’s an effective tool to clean it up. The area where to transfer images is kept clear from your fingers. Cleaning is done efficiently because it is the basics of imparting an image. The hold of the image on ceramic requires a clean, dirt-free surface. A popular article, how thick is ceramic tile?
How to PRINT THE IMAGE?
The image is to be placed printed with the computer in mirror image mode. The laser or inkjet printer can be used for this purpose. For instance, the printout of the name “MATT “ is printed as “TTAM.” We have to use mirror image mood because it involves transferring indirectly over the ceramic surface and then separating away from the paper the image was printed on. If one doesn’t use the mirror mode, your “MATT” will be printed as “TAMM” on your ceramic surface. Mirror image mode can be learned at any online or offline media platform. Read here, how to seal ceramic tile?
What is used to dry?
The layout is dried for three to 4 hours for a laser printer and a whole night for an inkjet printer.
It should be kept in mind that before processing, the image must be dry. You cant take risks at all. Wait for more hours even if you see that ink is dried. Play it safe and give drying more hours. Usually, the printing by inkjet takes more time than laser. Be careful about drying. Don’t try to dry at intense heat or intense warmth. It may disturb the molecular bonds resulting in distortion of the whole thing.
Why IMAGES are cut and how?
IMAGE is cut by leaving a small cutout border. Sharp scissors are used for this purpose. It is aimed to leave the border of 3.2-6.4mm around the perimeter.
Cutting a rectangular-shaped image is straight, but cutting the complex image is a little bit tough, so that you can use a circle instead.
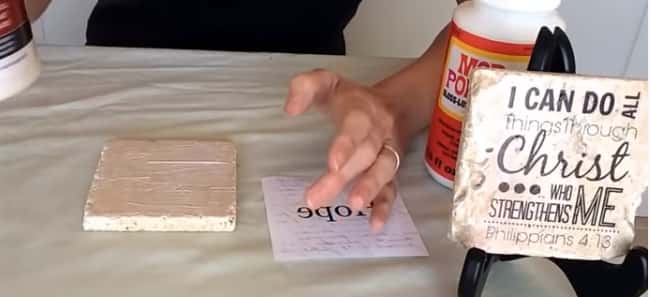
How to make BRUSHING LAYER OF PODGE?
Mod podge is a brand name for all ranges of glues. Dip the tip of a small form in the podge and furnish the printed side of the image.
How to cut out smoothly?
Image Is placed on the ceramic surface smoothly upside down. Then use fingers in a circular motion from middle to outward until there are no bubbles and wrinkles left.
What is used to dry image?
The image placed is left top drawn for at least 3-4 hours. The mode podge must be dried completely to ensure adhesion and transfer of ink. Try to wait overnight and at minimum 3-4 hrs.
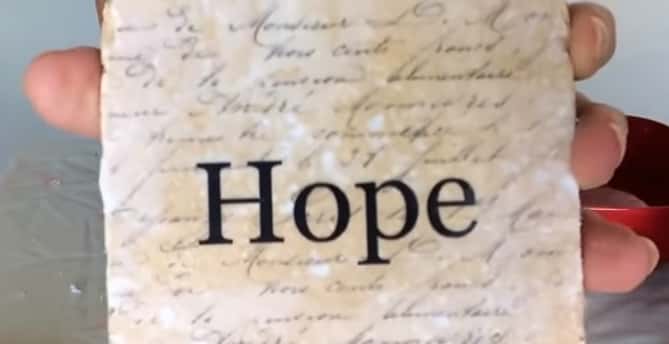
How to peel the paper?
Dump the fingers gently and slowly rub the paper to separate it. For lifting the paper, start from the edges and cut out using a rubbing motion. Continue dipping your finger from time to time in lukewarm water to keep it slightly damp.
Spraying
After peeling is done, wait for 24 hours and spray acrylic sealer. Once the paper is peeled image is dried completely for a day, then a spray of acrylic is applied slightly on the surface.
What are precautions?
The thing that must be kept in mind is that these images are not congruent with food or water. Do not serve food on printed plates. Images on the outside mug can be used for tea making. Don’t put such items in the dishwasher. I hope how to transfer images on ceramic tiles article helped you out.