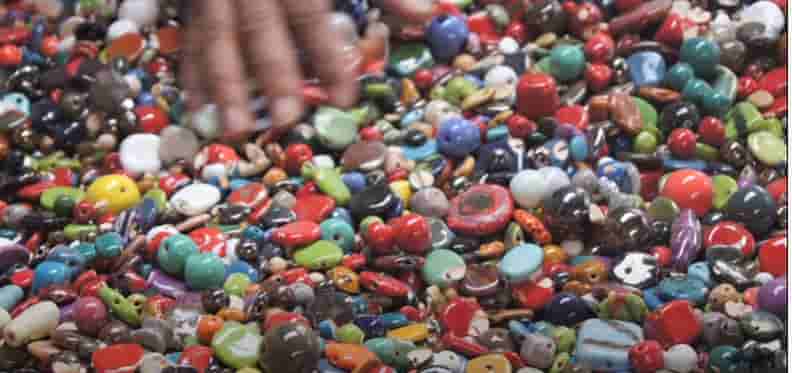
The ceramic beads are unique and wonderful. They have beautiful colored attributes. Their demand is high in the market as compared to an ordinary bead. They are incredibly unique, and they are nurtured very carefully in a lengthy process. That lengthy process starts from a block of clay. It is good to mention here that making such beads requires a lot of effort and professionalism. The labor gets the fruit of his untired effort several after the day of making the beads. In this article, we’re going to share how to make ceramic beads step by step.
Their making has been divided into sections. Each section performs its assigned task. The modification in ceramic bead occurs as it processes through the different areas. Ceramic beads can be made at home.
The best ceramic bead production is being carried at a large scale to ensure quality. Homemade ceramic bead production may not meet the demand, so they are also being manufactured at an industrial scale.
The difference between ceramic and clay beads
People must search for a question that what is the primary difference between porcelain, stoneware, earthenware, or just plain ceramic bead? So, the answer is all the names mentioned above, except ceramics, are different forms of clays.
Stoneware, earthenware, and porcelain are just clays, and ceramic is used all for them. Because of our ease, we can say that ceramic means “fired clay.” Each clay mentioned above is fired in a kiln. That kiln is specially designed for baking purposes.
The kiln has different temperature ranges depending upon the kind of material we are going to bake. A kiln is used for baking the clay effectively and makes it harder.
Polymer clay is different from all clays. Therefore we don’t call it ceramic clay. Polymer clay doesn’t contain any clay as it is a human-made material. So the question arises why we call it clay? The answer is because it can be molded like other clay. Therefore we call it clay.
How are ceramic beads made?
The main stages for making the ceramic beads have been given below. Although the actual process varies depending upon the ceramic artist, yet we can share some steps.
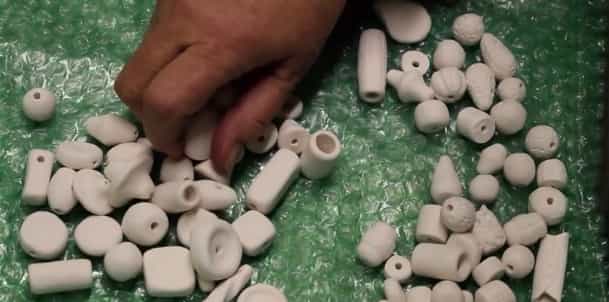
1). Green ware
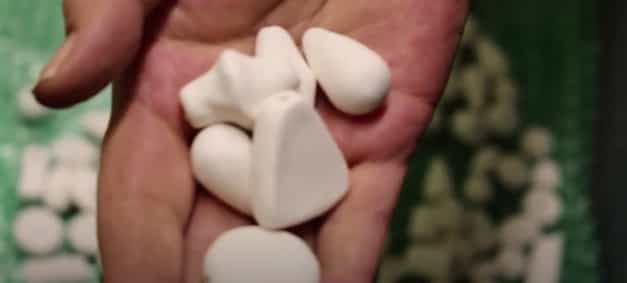
When the clay is in its most basic form, we termed it greenware. It is the clay stage where it can be molded or baked to give clay any desired shape. It is the most initial stage in making the bead. The greenware hasn’t been passed through the firing process. You can give any desired shape to this greenware.
We are concerned with making beads, so we shape the greenware in beads shape. You can make round beads. You can make flat pieces of bread. For this, you can use your fingers or dowel. You can drill a hole in the center of bead-shaped greenware. For this, a skewer or dowel is used.
The greenware is usually a little wet when we start shaping it into beading form. So, after we are done giving shape, it is left in the air to dry. Air drying can take several days, depending upon the external conditions as well.
In winter, the beads take at least 4 to 5 days to dry completely. After the beads have been dried completely, they are cleaned with a damp sponge. This step is done to make the bead surface smooth. You can also do re-drilling; in fact, re-drilling is required because, with the cleaning process, holes can be partially filled.
2). Bisque
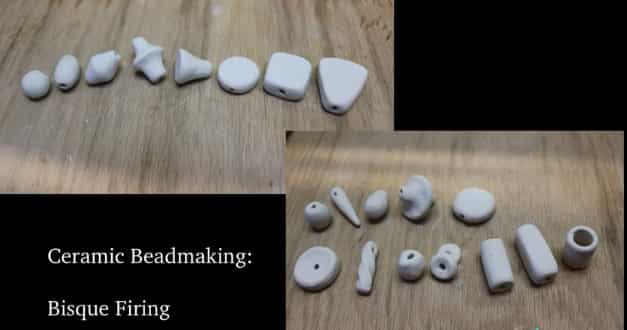
The next stage is using the kiln. This process has turned the clay into bisque. In this stage, high temperature is applied to greenware. The average temperature applied usually is 1100 degrees. After using the weather, the clay loses its properties and remains no longer clay. After firing, it becomes ceramic. The firing processes us usually done twice to ensure quality.
Usually, the glaze is used again. It is good to mention that not all glaze requires fired twice. The beads should be kept in a cool place after removing them from the kiln. This whole process usually takes less than 24 hours.
The perfect example is porcelain. The beads need to fry at a high temperature. This firing gives the porcelain a glass-like appearance. The firing cycles for different clays are different. Generally, the firing cycle takes 8-24 hours.
To obtain the proper results, controlled firing is done. Controlled firing is carried at a specific temperature and other external conditions. This gives the ceramic beads a perfect surface shinning and hard appearance. Perfectly controlled temperature produces durable ceramic beads which last longer. Check here, green life cookware reviews.
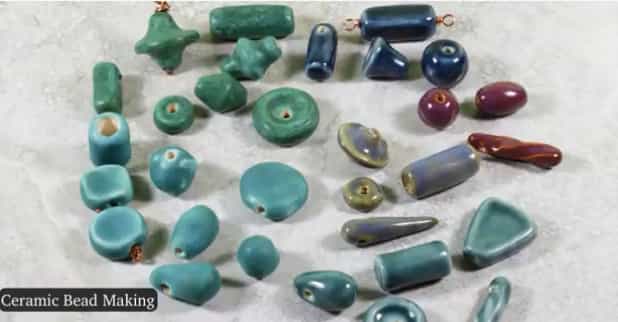
3). Glaze:
The next step is glazing. We also termed this step as the finishing process or furnishing process. The glaze is defined as any product that can be painted with a hand on a ceramic product. A product like we finished baking previously. Once the glaze is taken out of the kiln, it is painted with many brushes.
Generally, 2-3 coats of specially formulated coats of clear glazes are applied. This can be matte, metallic, shiny, colorful, or clean. For this purpose, the worker may use an underglaze alone or add an overglaze. After the polishing is done, it should be kept in the air to dry completely, and once it is dried, take a clean cloth and clean the bead all over the surface.
Sometimes, the surface catches the debris, which gives a rough appearance to the beads. Cleaning with a towel or clean cloth gives it a shiny surface, and it appears smooth. Once our glaze is completely dry, you will need to turn your beads into a kiln for another round of firing.
Example of ceramic beads
Raku ceramic beads:
“Raku” is ancient pottery that finds its roots back in japan. These “Raku” beads were developed in the 16th century. Even in ancient times, it was demanding due to its durability and looks. Raku ceramic beads are very special.
They are made slightly different from others because of the involvement of the firing process. Usually, the other clays are firstly put in” Raku” the clay is preheated once and then loaded into a hot kiln.